
Setting up Appium environment
This section will guide you through the process of installing Appium Server on your host PC.
Mobile Testing Environment Prerequisites
- For Android testing, it requires a Windows, OS X or Linux machine for hosting test. For iOS testing, OS X is required
- Your app’s .apk or .ipa file or its
appPackagename (e.g. com.google.android.youtube) andappActivityname if you are going to test pre-installed applications.
Setup Android Environment
Installing JDK
Download the proper installation file from Oracle for your operating system. Java SE Development Kit 11.0.5 LTS is recommended.
Run the installer, then wait until the installation is complete.
Set JAVA_HOME in your system’s environmental variables to the JDK installation path.
Firstly, find your JDK installation path. On Windows, the path should be
C:\Program Files\Java\jdk-<VERSION NUMBER>by default. It should be/usr/libexec/java_homeon OS X and/usr/lib/jvm/java-<VERSION NUMBER>-openjdk-amd64on Linux (Ubuntu).Windows: Hit
Windows + Rcombination then type “sysdm.cpl” in Run dialog box. It will open theAdvanced System Settingwindow, then clickEnvironment Variables...onAdvancedtab. ClickNewbutton in the User Variables section for adding the variable detail. EnterJAVA_HOMEfor variable name and the JDK 8 folder location on your computer in variable value field (e.g.C:\Program Files\Java\jdk-11.0.5).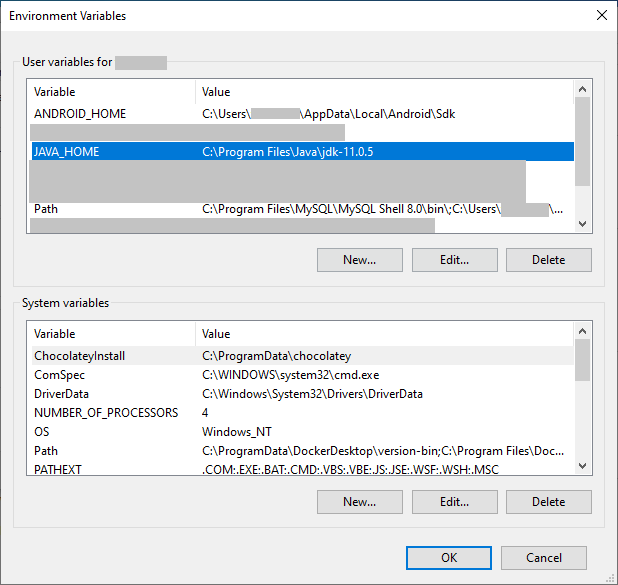
OS X:
For OS X use zsh as default shell (OS X 10.15): Open ~/.zprofile with a text editor (e.g. run
open -e ~/.zprofilefrom terminal).For OS X use bash as default shell (OS X 10.14 and below): Open ~/.bash_profile with a text editor (e.g. run
open -e ~/.bash_profilefrom terminal).Then add a new line
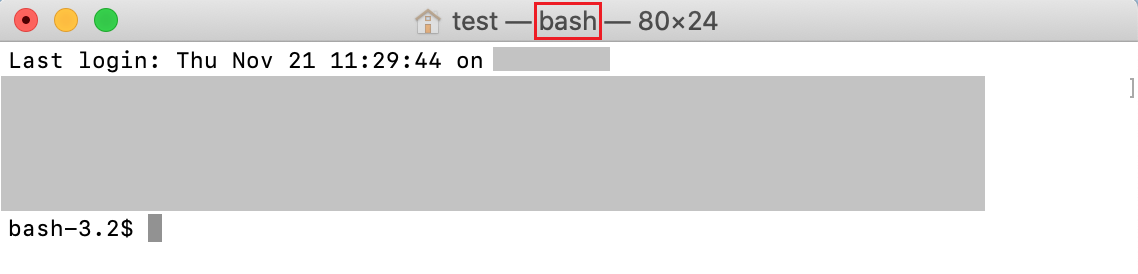
export JAVA_HOME=<JDK INSTALLATION PATH>to the opened file and save it. See this article for OS X update details from Apple.Tip:You can check the default shell on your system by the title of any running terminal.
zsh

or bash
- Linux: Find the path to your java installation, it depends on which version of Linux you are using. Open
~/.bashrcwith a text editor (e.g.gedit ~/.bashrcon Ubuntu 18.04.3) and add the lineexport JAVA_HOME=<JDK INSTALLATION PATH>. Save the file.
PATH variable configuration: Add the JDK bin folder path to your system’s environment variable
PATH(orPathon Windows 10). You’ll need to intialize this variable using the same method you used for theJAVA_HOMEvariable if you have not already done this.On the other hand, you just have to edit by click
Editbutton after select it and add new value%JAVA_HOME%\binby clickNewbutton (for Windows). On OS X, depend on the system default shell that you have to add new lineexport PATH=$PATH:$JAVA_HOME/binto~/.zprofileor~/.bash_profilefile. For Linux, users have to add new lineexport PATH=$PATH:$JAVA_HOME/binto~/.bashrc.Run
source ~/.bash_profileorsource ~/.zprofile(for OS X) andsource ~/.bashrc(for Linux) or restart the machine. Remember to run these commands (or restart) everytime you modify these files. Windows users don’t need to do this step.
Installing Android Studio
Android Studio is an IDE for creating Android applications. The Android SDK tools are included when you install Android Studio.
- Go to the Android Studio website and click Download Android Studio.
- Run the application file (e.g.
android-studio-ide-182.5314842-windows.exe). - In the Choose Components screen, select the Android Studio
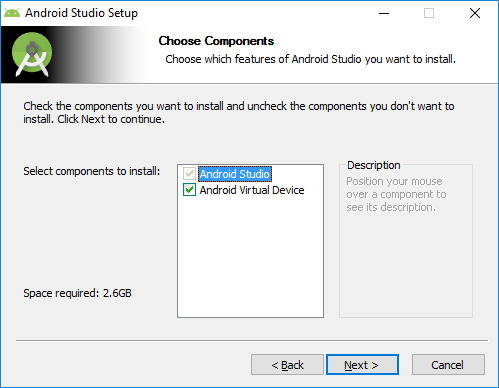
- Configure your settings, then click Install to start the installation process.
- Click the Finish button on the Completing Android Studio Setup screen to finish the process.
Installing Android SDK Tools
After installing Android Studio, you’ll need to install Android SDK Tools in order to use Appium.
When launching Android Studio for the first time, the setup process will start and ask if you want to install the required Android SDK Tools (If you’ve already set up Android Studio go to Step 6) :
Launch Android Studio
Android Studio Setup Wizard will be displayed like below
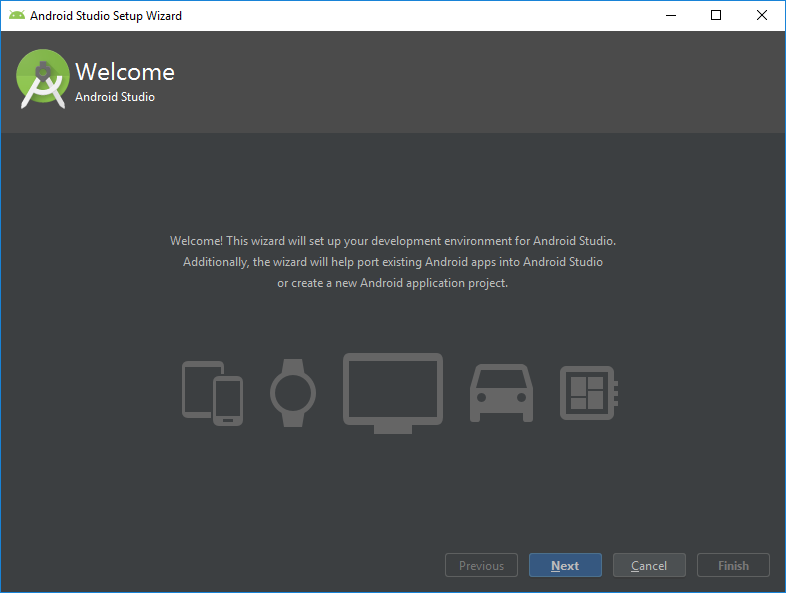
Click Next, then select Standard on the Install Type screen
Continue navigating to Verify Settings, you will see the list of SDK Components to be downloaded
Tip:The items in the list depend on the current version of Android Studio. If you already have an older version installed, the list might be different.Click the Finish button and then wait until the installation is completed.
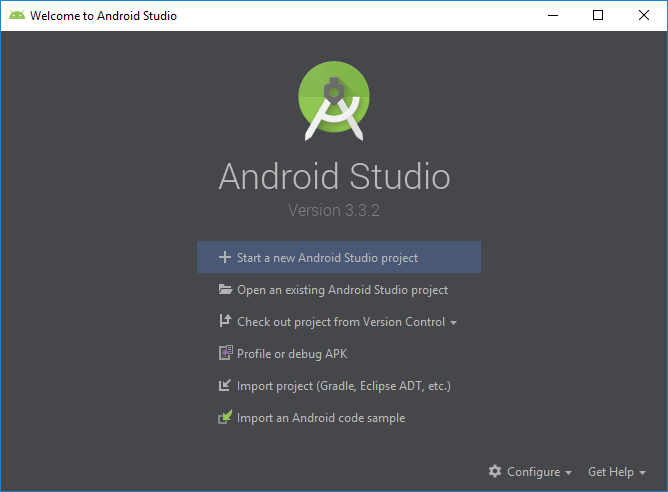
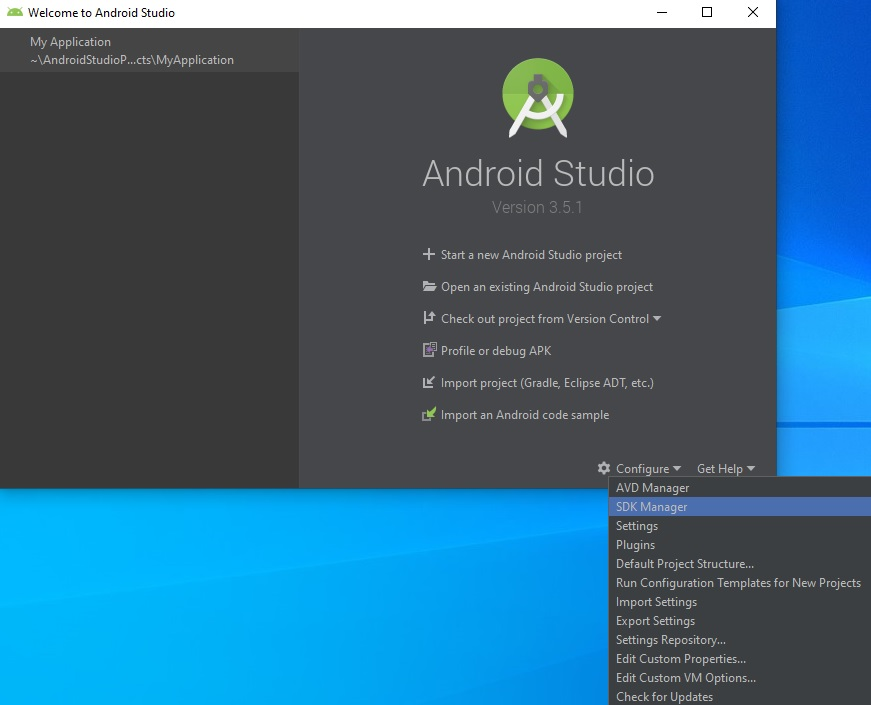
If you’ve already set up Android Studio, open up the SDK Manager by selecting Configure > SDK Manager from the menu bar.
Select Android SDK > SDK Tools
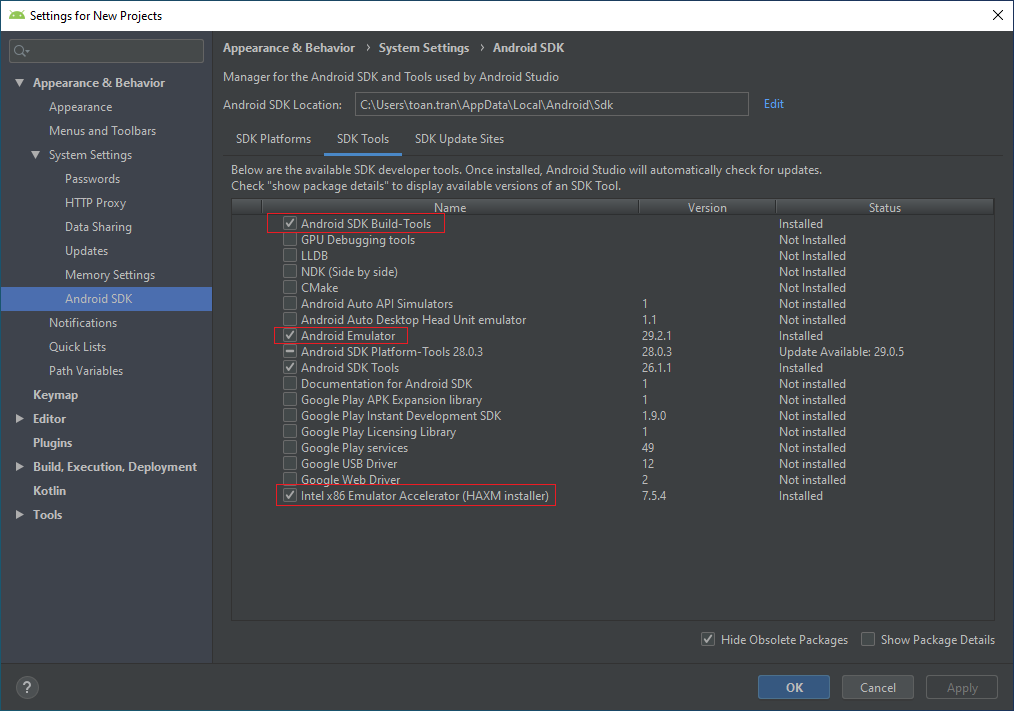
Ensure that the components below have been installed or updated:
- Android SDK Build-Tools (version 33.0 is recommended)
- Android Emulator
- Emulator Accelerator (if available)
Configure the
ANDROID_HOMEenvironmental variable: Initialize this variable using the same method you use for theJAVA_HOMEenvironmental variable.- For Linux, add the line
export ANDROID_HOME=~/Android/Sdkto your.bashrcfile. - On Windows, the variable’s value should be
C:\Users\<UserName>\AppData\Local\Android\Sdk. - On OS X, add the line
export ANDROID_HOME=/Users/<UserName>/Library/Android/sdkto your.bash_profileor.zprofile.
- For Linux, add the line
Checking the adb command
Android Debug Bridge (adb) is a powerful tool that’s provided as part of the Android SDK. With adb, you can run commands and communicate with connected devices or emulators.
First, you can check whether adb has been installed with adb devices command:
adb devices
* daemon not running; starting now at tcp:5037
* daemon started successfully
If you get the daemon started successfully message, then adb is installed and is working properly.
If the command adb devices fails to run (like in the Windows example below), please follow the next TIP.
adb devices
'adb' is not recognized as an internal or external command,
operable program or batch file.
path to <platform-tools> folder to your PATH variable to run adb command from any directory.For Windows, users have to add C:\Users\[username]\AppData\Local\Android\Sdk\platform-tools to your PATH using the same method you used for installing the JDK
On OS X just add this :<path to platform-tools folder> to the line that contains the PATH variable value in .zprofile or .bash_profile. The whole line should look like this : export PATH=$PATH:$JAVA_HOME/bin:$ANDROID_HOME/platform-tools or export PATH=$PATH:$JAVA_HOME/bin:/Users/test/Library/Android/sdk/platform-tools in case ANDROID_HOME wasn’t set.
On Linux you have to add :<path to platform-tools folder> to the PATH variable by using either of these commands: export PATH=$PATH:$JAVA_HOME/bin:$ANDROID_HOME/platform-tools or export PATH=$PATH:$JAVA_HOME/bin:~/Android/Sdk/platform-tools
adb is included in the Android SDK Platform-Tools package. If it hasn’t been installed yet, you can install adb via the SDK Manager in Android Studio as above.
Installing Appium Server
Appium Server is required for testing on mobile, users can choose between installing it via npm or the Appium Desktop package which contains:
- Appium Server, the software driving the test automation
- A GUI to start Appium Server and inspect mobile applications.
Note: Appium Desktop only runs on 64-bit systems. If you’re using a 32-bit (x86) system, please skip to the TIP below.
Click here to download and install the right package for your OS (version 1.22+ is recommended for Android). Typically:
- For Windows: it should look like
Appium-Server-GUI-....exe - For Mac: download the one with
.dmgextension - For Linux: download the one with
.AppImageextension
Appium Desktop package.Appium Desktop
Now open Appium Desktop and click the Edit Configurations button.
ANDROID_HOME: Set this to your Android SDK folder. It is usually one of these
- Windows
C:\Users\<UserName>\AppData\Local\Android\Sdk\ - Linux
/home/<UserName>/Android/Sdk/ - OSx
/Users/<UserName>/Library/Android/sdk/
- Windows
JAVA_HOME: Set this to the location of your java installation
- Windows
C:\Program Files\Java\jdk-<VERSION NUMBER>\ - Linux
/usr/lib/jvm/java-<VERSION NUMBER>-openjdk-amd64 - OSx
/usr/libexec/java_home
- Windows
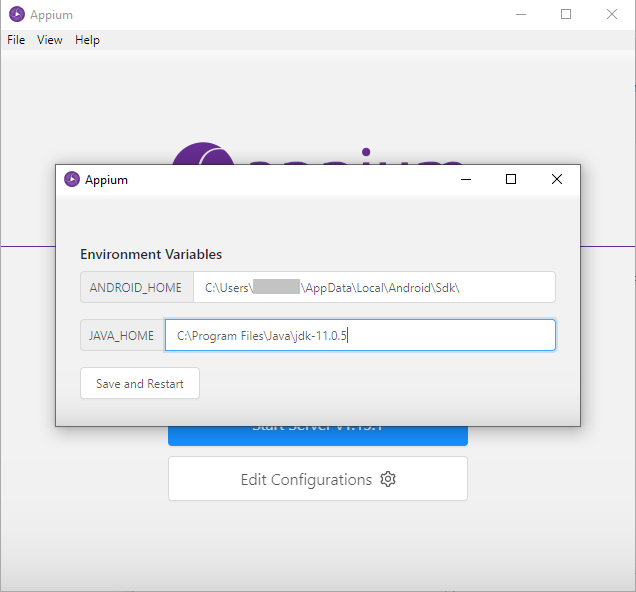
Save the settings and restart Appium Desktop.
Appium Server with Command Line
If you choose not to use Appium Desktop, Appium Server has to be installed using the command line. You also have to use the command line to configure and control it. Follow the steps below to install Appium Server using the command line:
- Ensure that NodeJS is installed
- Open the command line and install Appium using
npm
npm install -g appium
Before running a test, users need to start Appium Server by running appium from the terminal.
