
Recording in TestArchitect
With TestArchitect’s Action Recorder, user interactions with the target application are monitored and recorded in the form of keyword action lines. This topic provides general information on the Action Recorder’s recording functionality and controls.
Starting, pausing, and stopping recording
To start recording:
In TestArchitect, create a new test module or action definition, or open an existing one for editing. Check it out if needed.
Place the cell pointer on the line where the Action Recorder should insert the recorded action lines.
From the TestArchitect menu bar, select Tools > Action Recorder.
Fastpath: Alternatively, press F6 on your keyboard, or click the Record
 button on the toolbar.
Any of these actions will start Action Recorder in recording mode and display the Recording toolbar at the lower right corner of the screen.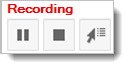
Using the buttons of this toolbar, you can control the recording process and perform various actions during the recording session.
- After you start the recording, TestArchitect is automatically minimized and cannot be restored until recording is stopped.
- The recording session always needs an interface to be selected, to allow the recorder to match the windows and controls it encounters during the session. The following rules are applied in selecting an interface:
- If the current project has no interface available, you will be asked to create a new one.
- If the current project has only a single interface, that interface is selected automatically.
- If the current project has multiple interfaces, the default interface is selected.
- If the current project has multiple interfaces, and the current test module has a use interface action line, the interface it specifies is used, rather than the default interface.
- If none of the above applies, you will be asked to select an interface in the Action Recorder Setting dialog box.
To pause the recording, click the Pause the recording  button on the Recording toolbar. This allows you to perform other actions on your computer without having action lines generated from them.
To resume recording after a pause, click the Resume the recording  button
To stop recording, click the Stop the recording  button on the recording toolbar.
Inserting checkpoints into the current test
The Action Recorder records your user interactions as keyword-based action lines. It can also insert checkpoints into the recorded test procedure as needed.
To have the recorder record a check at a given point, drag the Insert Check  button on the Recording toolbar to the control on which the check needs to be performed. By default, TestArchitect generates a check action, but you can change that behavior in the Action Recorder Settings dialog box.
In the Action Recorder Settings dialog box, if you don’t want basic check actions automatically generated, clear the check box Always use the default check action when I define a control check. With the box cleared, all your Action Recorder Insert Check commands launch the Check Action dialog box, in which you may choose the type of check you need.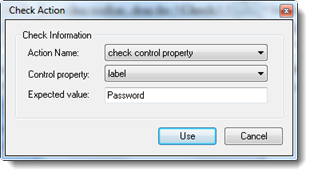
Action Name: List of checkpoint actions applicable to the given control.
Control property: List of available properties of the control.
Notes:This field is enabled only if your choose check window property or check control property in the Action Name box.Expected value: The value expected to be returned by the check.
Interface mapping
Upon concluding an Action Recorder session (when you click Stop the recording ), if the windows and controls cannot be fully mapped to existing interface entities and elements in the selected interface, or the windows and controls are not yet defined in interface entities and elements, the Action Recorder displays the New interface definitions dialog box.
You can use this to name the new interface entities and/or elements. Click Save to add or update the specified interface data.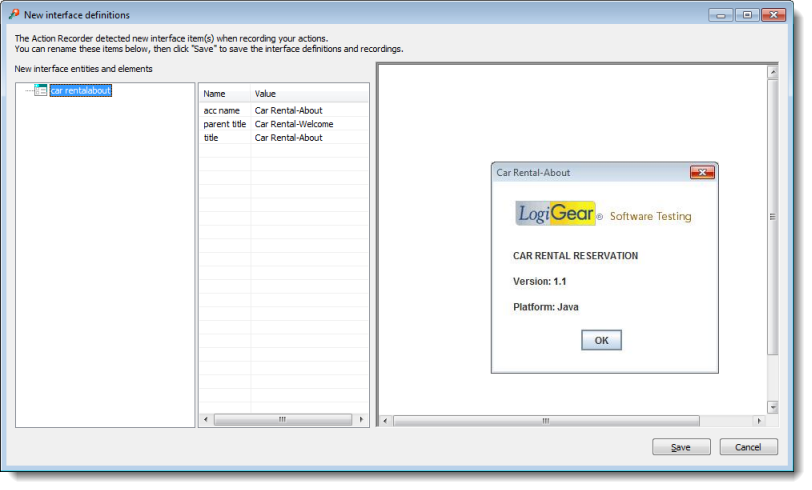
Related concepts
