
Creating a new user-defined setting
User-defined settings are a useful way of passing information to your test modules prior to startup to get them to behave in a certain way. You can create these settings within TestArchitect Client for either a client-directed test run or to generate a test run batch file.
To create a user-defined setting from TestArchitect Client, do the following:
Launch the Execute Test dialog box.
Select the Startup Settings tab.
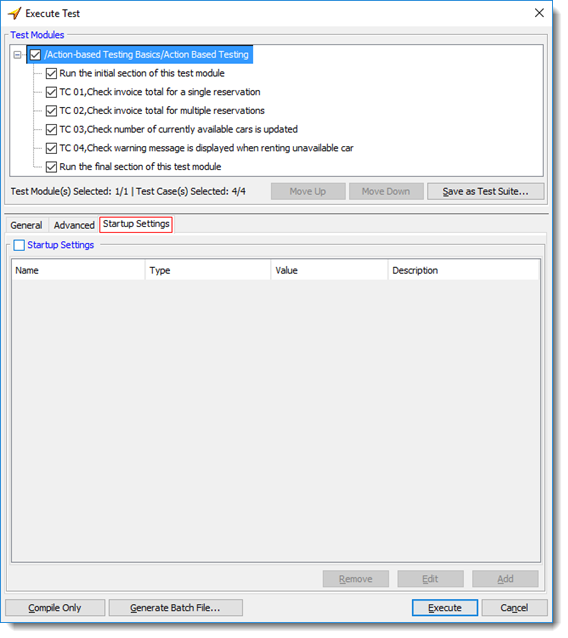
Click the Add button.
The Add a setting dialog box appears.
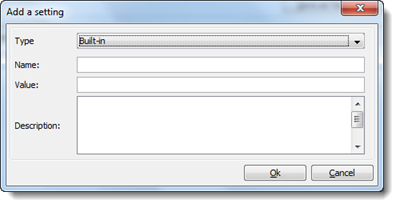
In the dialog box, enter the following information:
Type: (Required) Type of the setting. Select the User Defined option.
Name: (Required) Name of the setting.
Restriction:You cannot “reuse” the name of a built-in setting here. Built-in setting names are reserved keywords and cannot be used to label user-defined settings.Value: (Optional) Value for the specified setting.
Notes:Although setting a value is optional at this point, you cannot change a user-defined setting’s value from within your test procedure. On the other hand, there is a valid reason for leaving this field empty: it allows your program to effectively set a value for the setting when it finds that there is no value set. This is because your test’s action lines cannot directly work with a user-defined setting, but can work with variables. The get setting action is used to transfer a value from a user-defined setting to a variable, and when that setting has no value, the value specified in the action’s default argument is applied to the variable.Description: (Optional) Short description of the setting.
Click OK.
Your new user-defined setting appears in the Startup Settings panel.
Select the Startup Settings check box.
This enables all the setting assignments listed under the Startup Settings tab, so that all those settings are set to their specified values (in the Value column) when you click Execute.
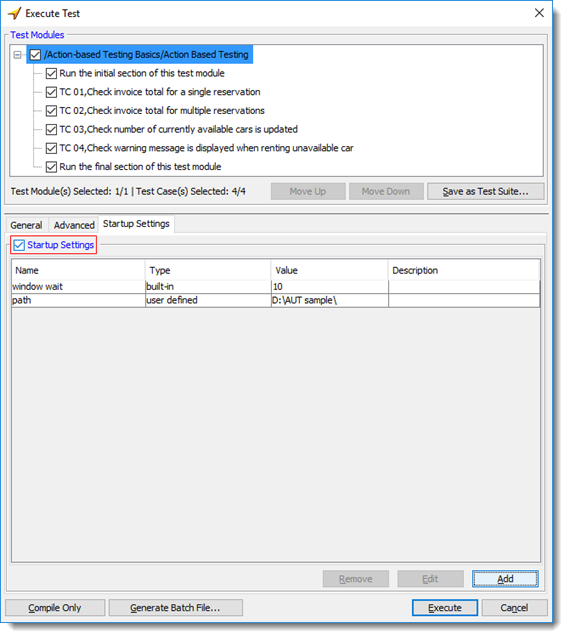
The new user-defined setting and its value take effect for the test run, once you click Execute. When the test run ends, these settings and their values are displayed in the test result.
If you choose to generate a batch file (learn more), the parameter /ss specifies the defined settings and their values. Multiple settings are separated with semi-colons.
