
Working with UI Mapify
With TestArchitect’s UI Mapify, web elements within the target website are captured and exported in the form of interface elements. UI Mapify generates locators automatically and allows you to save them to your interface entity. This topic provides general information of the UI Mapify’s capturing functionality.
1. Starting UI Mapify
In TestArchitect, create a new interface entity, or open an existing one for editing. Check it out if needed.
From the TestArchitect menu bar, select Tools > UI Mapify.
Fastpath: Alternatively, press CTRL+F7 on your keyboard, or click the UI Mapify button on the toolbar.
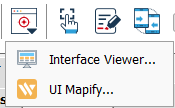
The TestArchitect UI Mapify dialog will open to specify the URL.
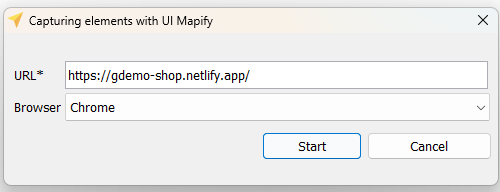
URL (Required): The URL of your website under test.
Browser(Optional): The browser used to capture the web element.
Notes:TestArchitect UI Mapify is a Chromium extension. You have to add it to your browser before using it. Currently, TestArchitect UI Mapify only supports Chrome.
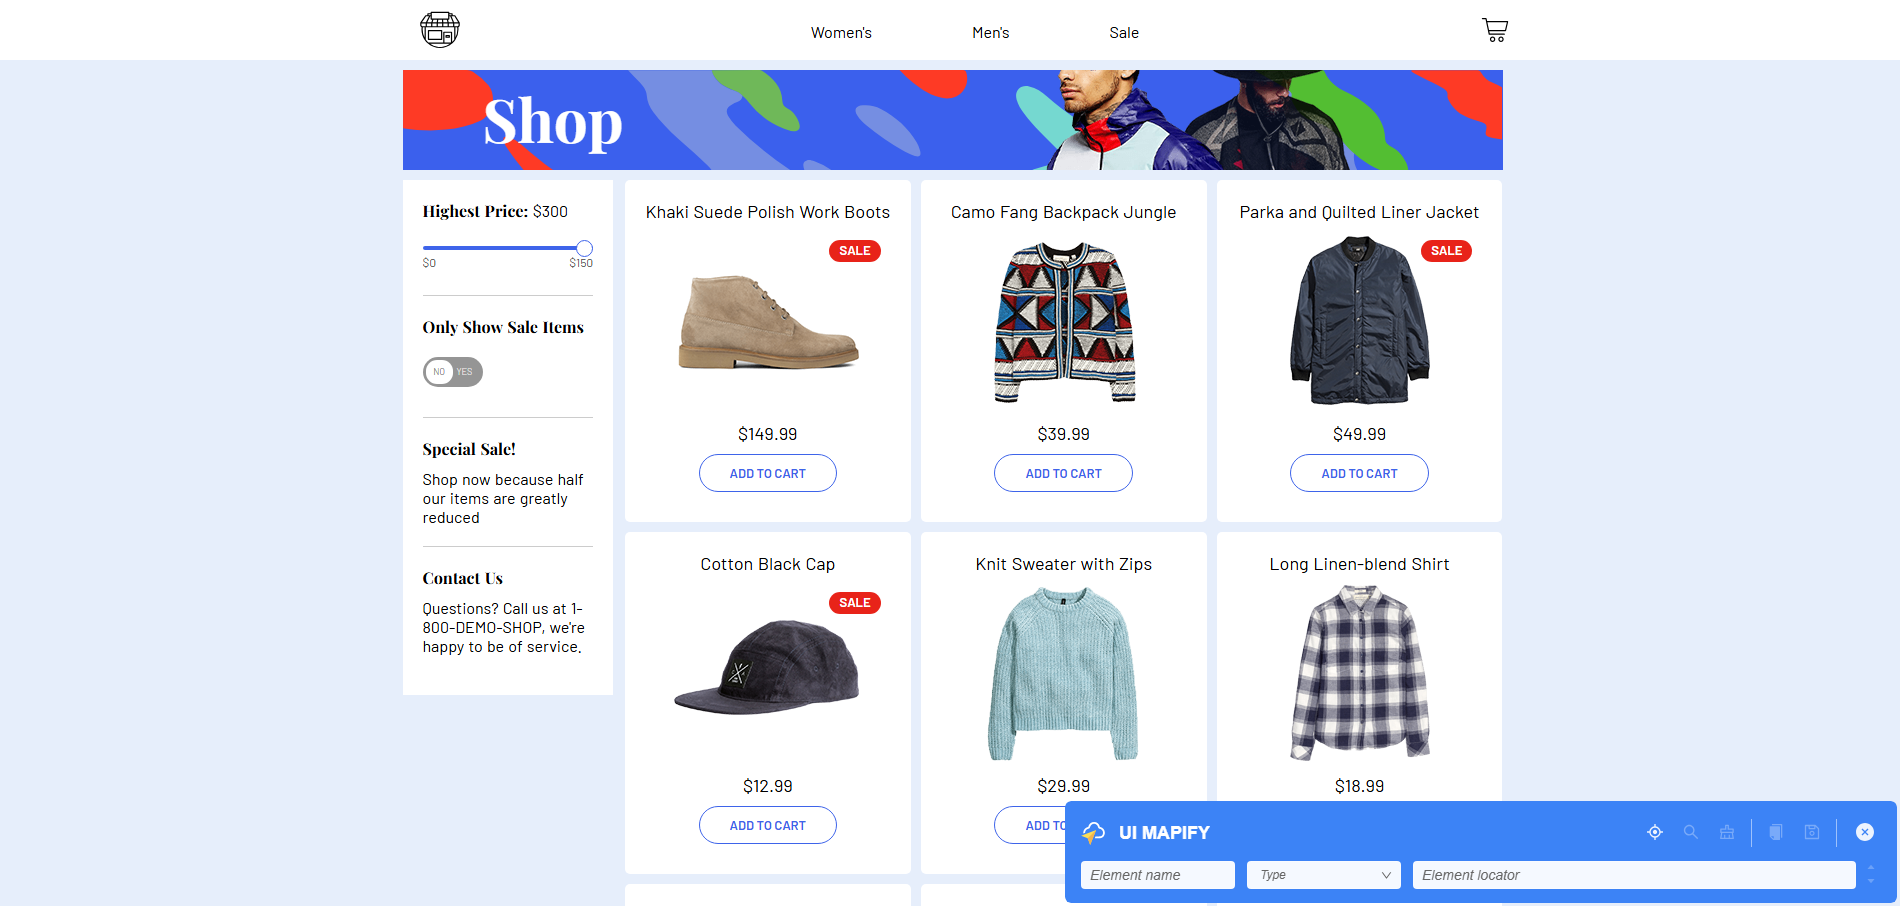
Click Start button to start the UI Mapify session.
2. Inspecting web elements
You can inspect an element with the following steps:
Click Inspect button to turn ON Inspecting mode
Move mouse pointer to the desired element. Notices that, UI Mapify will highlight the element with a orange rectangle when you hover your mouse over it.
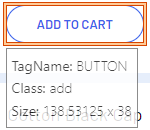
Left-click on the element
You will see that, UI Mapify automatically generates a locator value for you
 Notes:
Recommended icon
 means that this locator value is recommended by UI Mapify to use it for your automation testing.
The criteria for Recommend are: uniqueness and stability.
means that this locator value is recommended by UI Mapify to use it for your automation testing.
The criteria for Recommend are: uniqueness and stability.The Shadow DOM badge
 , when visible, indicates that the inspected element resides within a Shadow DOM. Saving this element to a TestArchitect interface entity automatically captures all the necessary locator information required to find it.
There are certain types of elements that will only be visible after a UI interaction, such as having mouse focus/clicking on another element. Enabling Inspect with the hot key Ctrl + Shift + X will help to capture these kinds of elements. Refer to the steps below for more details:
Make an element appears on the AUT
Hold Ctrl + Shift + X at the same time.
Move your mouse to that element and left click to get its locator value.
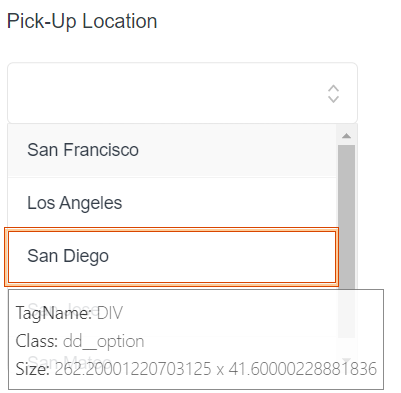
Notes:Currently, Hot key only supports Javascript elements.
3. Verifying locators
With UI Mapify, you can create your locator by inputting/modifying a locator value in the textbox.
You can verify your locator by clicking on the Find button, and then refine it and verify again until it is unique and stable for your needs.
When you click Find button there is a Match index
 next to the locator value that tells you how many elements match the locator.
The format of the Match index: {current match index}/{total matched elements}
Possible results :
- 0/0 : No any element matches the locator.
- 1/1 : Only one element matches the locator.
- 1/n : There are a total of n elements matching the locator.
A popup message reflects the verifying result for the locator.
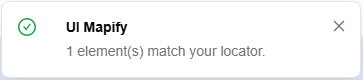
Prev/ Next matched element
 : These arrow buttons are used to navigate to another matching elements in case of there are many matching ones. The highlight rectangle will be shown to help you locate it easier.Notes:
Sometimes, there can be a matching element which is located out of the viewport, you may have to scroll up/down your AUT to see it.
When verifying Shadow DOM elements, a ’no match’ result can be caused by several factors, most notably outdated locators on one or more shadow hosts. Instead of trying to update these shadow host locators manually, you should re-inspect and save the target element to automatically update all required locators.
4. Saving locator to interface entity
In order to export the current locator to TestArchitect interface entity, you have to:
Ensure the name for that locator in TA Name textbox has been specified properly.
Restriction:The following special characters are not allowed in TA names: \ / : * ? " ’ < > | # [ ]
Click Save button
Notes:You need to open a checked-out interface entity on TestArchitect to receive a locator from UI Mapify.
Ensure that the interface entity is an active tab before clicking Save in UI Mapify to avoid any unexpected issue.
The locator and relative info in UI Mapify will be recorded in TestArchitect as an interface element.
Notes:When you save a shadow DOM element, all relevant shadow host locators will be automatically recorded to the Interface Entity as well.

5. Verifying captured interface element from TestArchitect
- As an application under test evolves over time, its locators also change; therefore the TestArchitect interface elements associated with them must be updated.
- Typically, the need for maintenance is discovered when your automation fails to run successfully due to changes in the underlying application.
- UI Mapify allows you to maintain existing interface elements by reconciling the differences between the captured locator value of the interface element and the change of element on the current AUT. To verify an interface element:
Start UI Mapify with your AUT site.
Navigate to the site that contains your desired element(s).
In the interface entity editor, right-click on an interface element, select Verify locator.
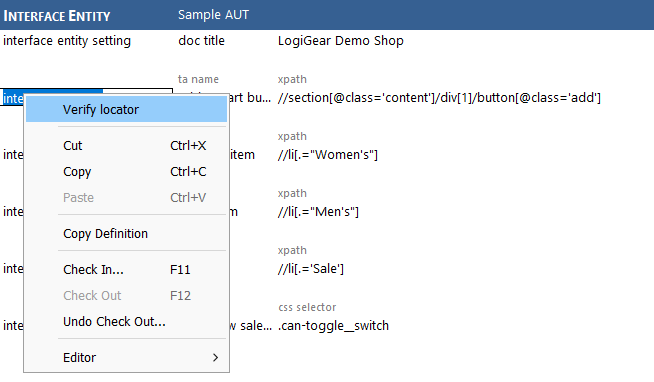
Open the Chrome browser containing your AUT and the UI Mapify session. The Chrome icon will be flashing in the Windows taskbar.

Observe the result on the UI Mapify toolbar and pop-up as below:
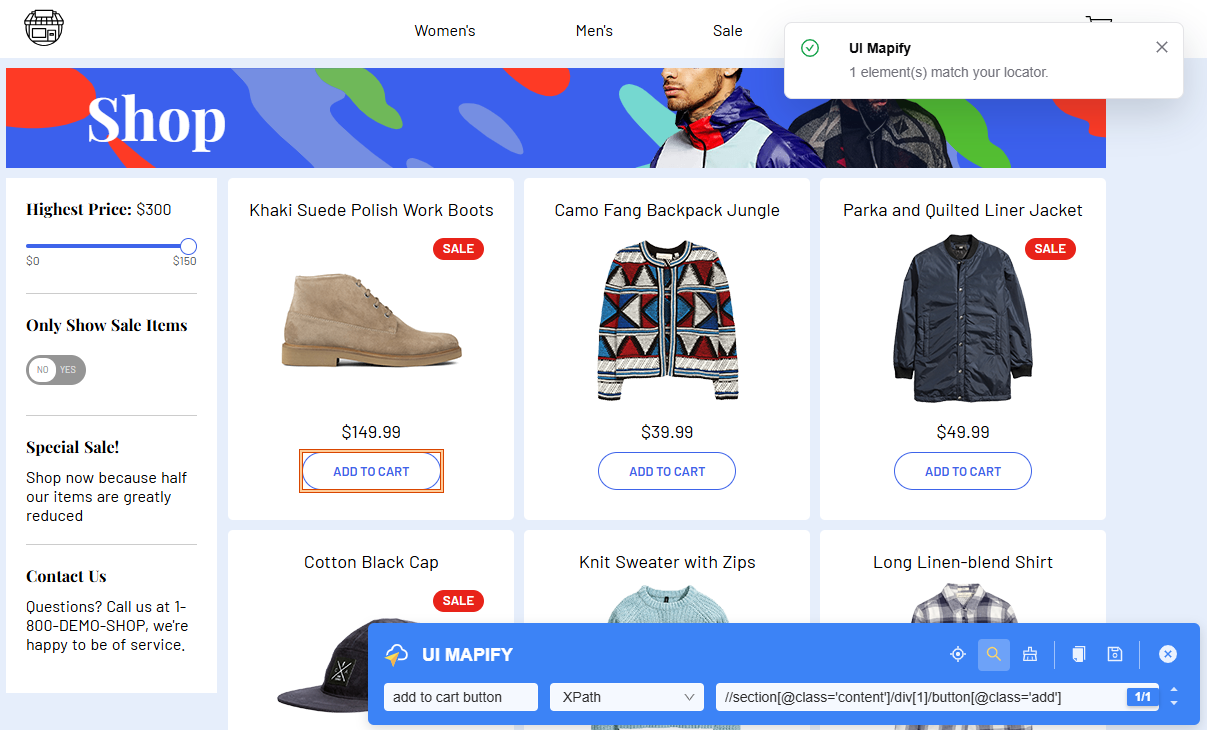
6. Other functionalities
Change toolbar position: In some situation, the UI Mapify may hide a section of the webpage that you need to interact with to capture elements; you can move the toolbar to another place by dragging and dropping the UI Mapify logo area.
Close the UI Mapify: : To stop the session, click the Close
 button on the UI Mapify toolbar.
Click OK in the confirmation box to close UI Mapify and the browser tabs associated with the UI Mapify session.



 Tel:
Tel:
 Email: