
Example: UI Mapify
This example will drive you through all the steps for using UI Mapify. After following this example you will be able to easily incorporate UI Mapify into your work.
Prerequisites:
- Familiarity with the TestArchitect Client user interface. (Learn more)
- Basic understanding of the UI Mapify. (Learn more)
Now, let’s get started!
In TestArchitect, create a new interface entity, or open an existing one for editing. Check it out if needed.
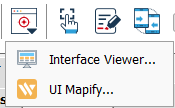
From the TestArchitect menu bar, select Tools > UI Mapify.
Fastpath: Alternatively, press CTRL+F7 on your keyboard, or click the UI Mapify button on the toolbar.
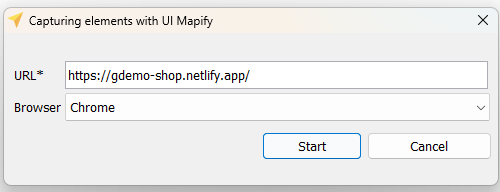
Input the URL https://gdemo-shop.netlify.app to UI Mapify dialog then click Start button.
Now we try to export a element into our interface entity.
Click the Inspect element button to activate inspect element mode.
We are going to capture the Add to Cart button by clicking on it.
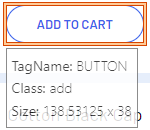
In the UI Mapify toolbar, you can notice that the locator of the inspected element is generated automatically here.
 Notes:
The default locator type and value shown in the panel when you inspect element is called as Recommended
 , which is unique and recommended by UI Mapify.
You can select another Locator type in the Select Locator combobox to view the corresponding locator value.
, which is unique and recommended by UI Mapify.
You can select another Locator type in the Select Locator combobox to view the corresponding locator value.Input TA Name into the textbox.
Click Save button to save the locator into TestArchitect interface.
Now your element from above already displayed in TestArchitect Editor.

Repeat the steps above with other elements to capture others locators.



 Tel:
Tel:
 Email: