
Creating a release definition
This topic gives you a basic guide on creating a release definition in the TFS web portal.
- You are familiar with the TFS web portal, particularly in build definition, release definition and test run.
- You have a TA-TFS plug-in based solution to execute tests in your repository.
In the TFS web portal, open the desired project.
Select Build and Release and then Releases in the Navigation bar.
Click the plus sign (+) dropdown button, and select Create release definition.
In the Pipeline tab, add an artifact:
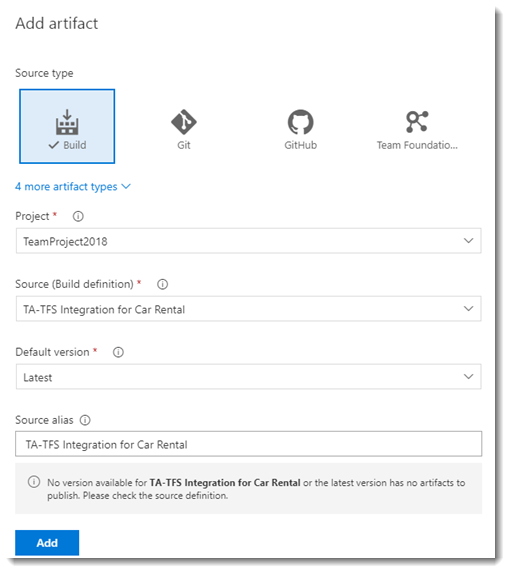
Under Source type, select Build
Select the TA-TFS plug-in based build artifact from the Source (Build Definition) dropdown list.
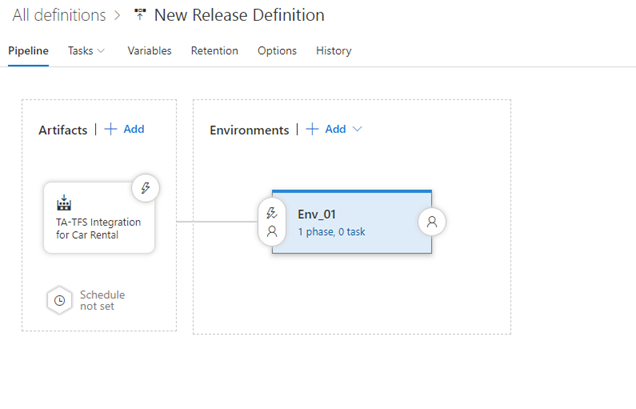
Add an environment
Under Select a Template, choose the Empty template

Click the link showing the number of phases and tasks under the environment name.
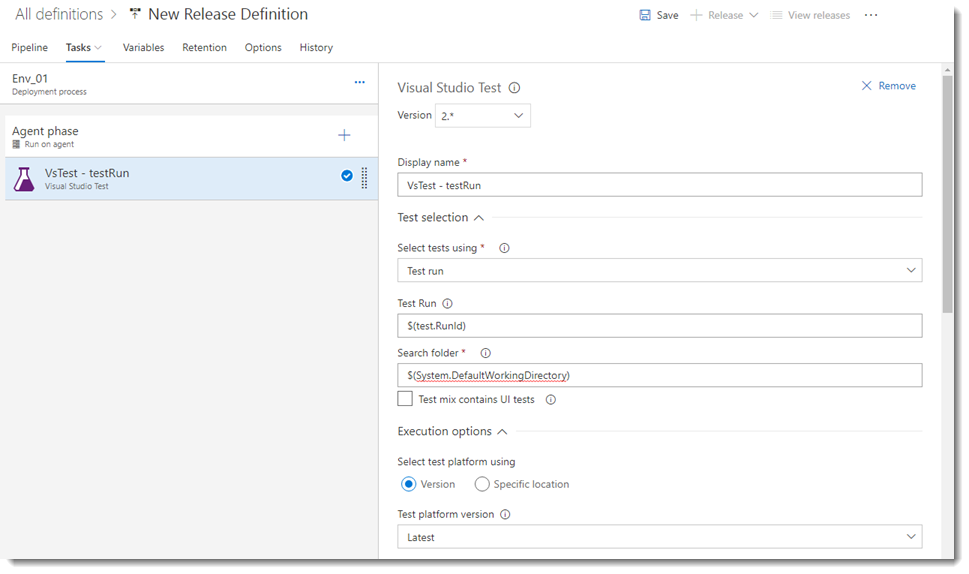
On the Tasks tab, configure Agent phase: select the agent queue to run tests
Notes:In order to run Visual Studio Test, an agent queue needs to have VSTest.Console.exe.- You can acquire VSTest.Console.exe by installing Visual Studio.
- If VSTest.Console.exe already exists on the agent queue, you can custom the VS Test parameter in Agent Queues
Add the Visual Studio Test task to the phase and configure it.
- Select Test run from the Select test using dropdown list.
- Browse to the location of the TA-TFS plug-in based artifact in the Search folder box.
Once you have set all parameters, click the Save button.
An environment has been created.
