
Automatically uploading TestArchitect test results to Azure DevOps Services
When launching a test run from TestArchitect Client, you can configure TestArchitect to automatically upload the test results to ADO upon conclusion of the run.
Ensure that you have already taken the following steps:
- Registered Azure DevOps Services with TestArchitect. (Learn more.)
- Mapped the TestArchitect project containing the test cases of interest to a ADO project. (Learn more.)
- Mapped TA test cases to ADO test cases. This can be achieved by any of the following means:
- Performing [manual mapping](/user-guide/integration-with-third-party-tools/automated-testing-in-azure-devops/mapping-ta-test-cases-to-ado-test-cases/) between TA test cases and ADO test cases.- Performing manual mapping between TA test modules and ADO test cases.
To automatically upload TestArchitect test results to ADO after execution:
Initiate TestArchitect test execution as you normally would. (Learn more.)
The Execute Test dialog box appears.
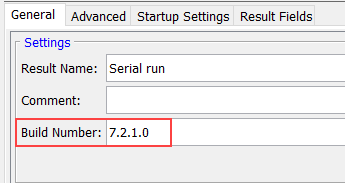
On the General tab, in the Build Number field, specify a build number.
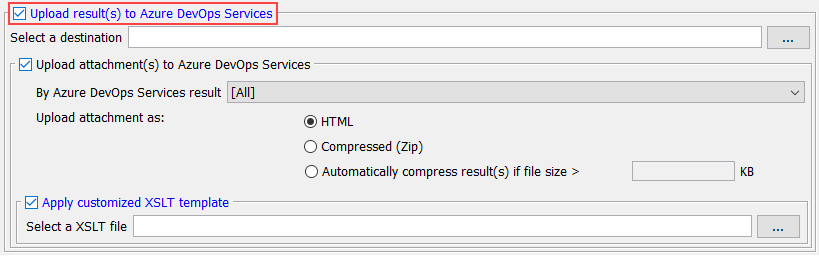
Switch to the Advanced tab, and then select the Upload result(s) to Azure DevOps Services check box.
Click the browse
 button.
In the Select Location dialog box, specify a location on ADO to which you wish the result uploaded. You can do this by either of three means:
- By explicitly defining the location:
- Click Select a Destination Folder.
- Select the location to which the result should be uploaded, and then click OK.
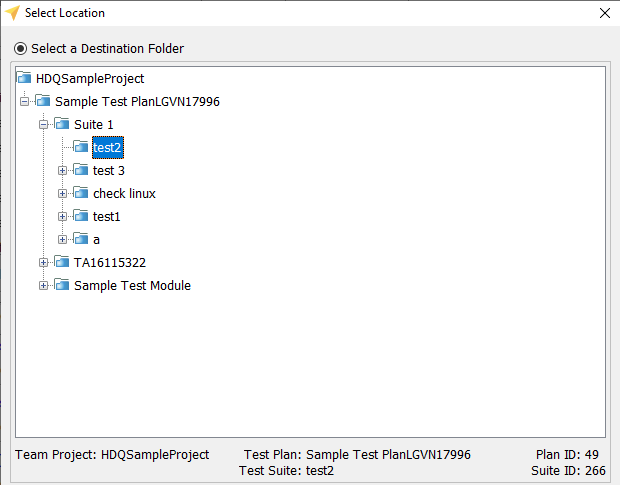 Attention:Selecting the location that directly contains your mapping test case will minimize your results upload time. For example:
- If your mapping test case is placed inside test3 but you select the test2. In this case, will cause a performance issue.
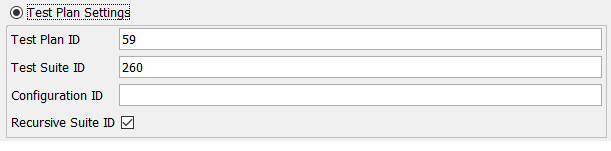
By using Test Plan Settings:
- Select Test Plan Settings.
- Enter Test Plan information to query a collection of satisfied ADO test cases, and then click OK.
By using Test Run Settings:
Select Test Run Settings.
Enter Test Run information to query a collection of satisfied ADO test cases, and then click OK.

You could also configure this setting by using arguments in execute command
- By explicitly defining the location:
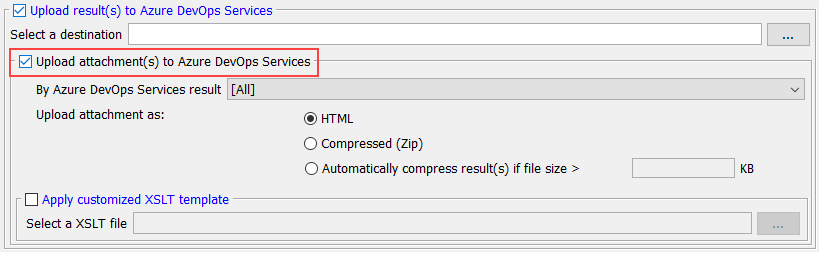
Select the Upload attachment(s) to Azure DevOps Services check box to upload the TestArchitect test result to selected ADO test cases as an HTML file attachment. (Selectivity is determined by the field as follows).
The By Azure DevOps Services result list box allows you to specify which associated ADO test cases are to receive links to the attached test result.
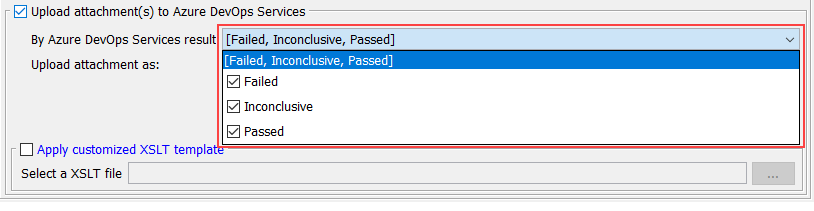
Passed: Attach the TA test result file if the test case’s ADO outcome is Passed.
Inconclusive: Attach the TA test result file if the test case’s ADO outcome is Inconclusive.
Failed: Attach the TA test result file if the test case’s ADO outcome is Failed.
Notes:The mappings between TestArchitect result statuses and ADO outcomes (that is, how ADO interprets each TA result status) are defined during initial configuration of the TA repository’s connection to the Azure DevOps Services. (Learn more.)
If more than one condition is selected, they are effectively OR’d together. For example: If both Passed and Failed check boxes are selected, any TA result that has an ADO outcome of either Passed or Failed is uploaded as an attachment.
In the Upload attachment as panel, select the format of the uploaded test result.
- HTML: (Default) Upload the result as an HTML file.
- Compressed (Zip): Upload the result as a zipped HTML file.
- Automatically compress result(s) if file size > KB: Upload the result as a compressed (zipped) HTML file if the file exceeds the specified size. Otherwise, upload the result as an uncompressed HTML file.

Optional: To upload results as an HTML with your own view layout, select the Apply customized XSLT template check box, and then choose a location of your customized XSLT template.
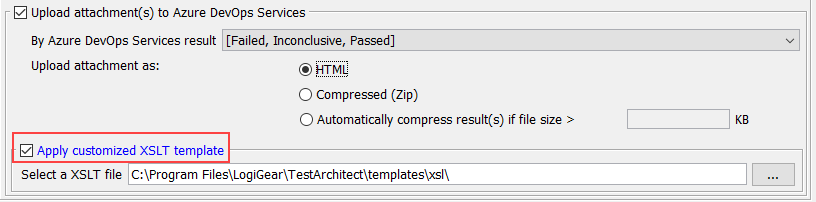
You are first required to customize the default XSLT template, which means you need to modify a set of XSL files to suit your desired view layout. (See more examples here.)
Attention:When your customized XSLT is invalid, the default XSLT template, located at the {TA_INSTALL_DIR}\templates\xsl\ directory, is automatically applied.Notes:if you are using a repository on another machine, make sure that the template you choose is accessible to the repository server under the account that starts the repository server service. It means that the template needs placing either on the repository server or in a network shared folder. Otherwise, the default template will be used.In the Execute Test dialog box, click the Execution button to begin test execution.
After the test run ends, TestArchitect automatically uploads the generated test results to ADO at the specified location and displays the upload confirmation message.
Click OK to close the confirmation dialog box.
TestArchitect test results are uploaded to ADO in the format specified in step #8.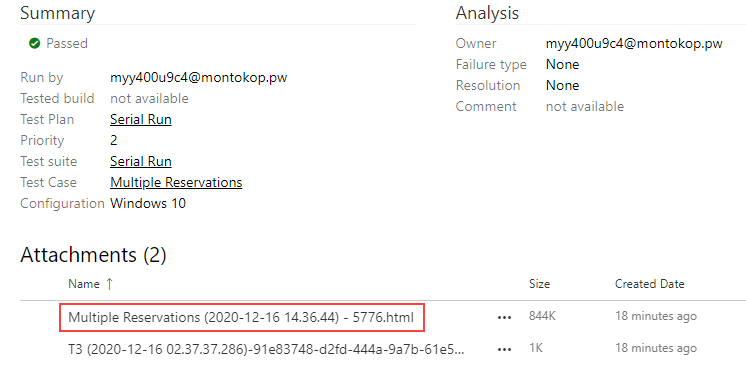
ADO: Azure DevOps
