Configuring Appium server locally
Describes detailed steps to configure Appium server locally on Windows machines.
Ensure that the following requirements are met:
- Set up Android development environment.
- Download and install the Remote TestKit Client application. Note that you must also have an account to access and use the Remote TestKit Client service.
- Rent an Android cloud device in Remote TestKit.
- Download and install the Appium desktop application for Windows machine.
Launch the Appium application.
In the Appium dialog box, click the Android Settings
 button.
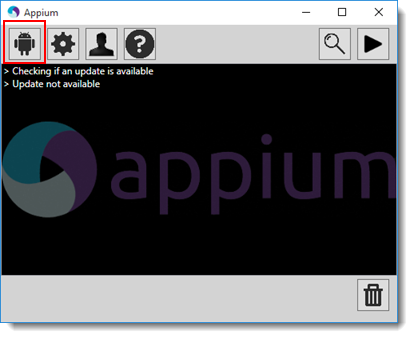
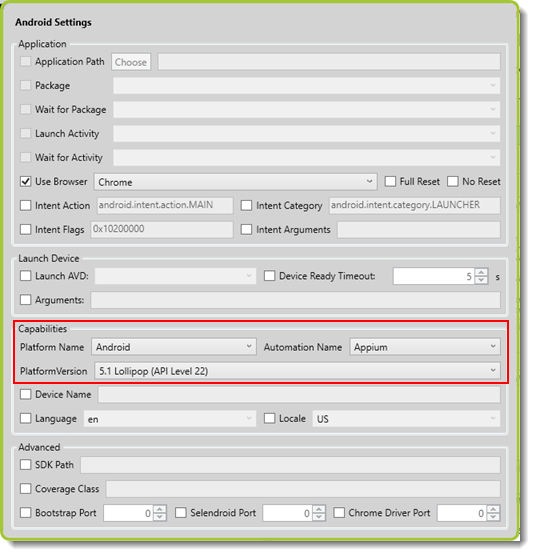
In the Android Settings dialog box, under Application panel, specify Use Browser as Chrome.

Under Capabilities panel, specify the following information.
- Platform Name: Android
- Automation Name: Appium
- PlatformVersion: Android version of the cloud device rented on Remote TestKit. Note that, the SDK package of this Android version must also be available. (Learn more.)
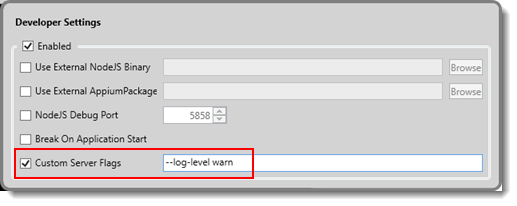
In the Appium dialog box, click the Developer Setting
 button.
In the Developer Settings dialog box, select the Custom Server Flags check box, and then input –log-level warn.
This flag suppresses debugging messages, including warning, error, and fatal messages, logging to the console to prevent the Appium server from crashing unexpectedly.
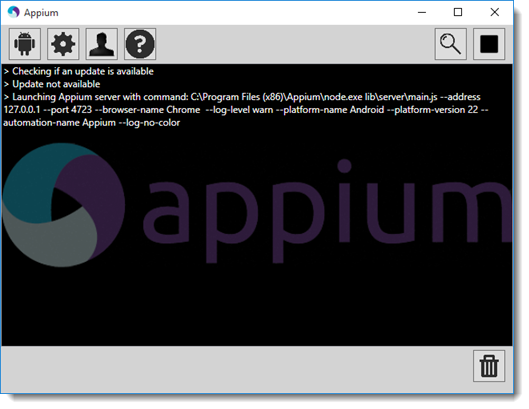
In the Appium dialog box, start the Appium server by clicking the Launch the Appium Node Server
 button.
The Appium server is started successfully from your local host.