
Resolving unverified picture checks
Explains step-by-steps procedures to resolve unverified picture checks.
For each test result for a test module, the system maintains records, including images captured from the AUT, of every unverified picture check resulting from the test run.
As a reminder, an unverified picture check is one that:
- failed to find a match at the time of a check picture execution, either due to a non-existing named picture check or non-matching pictures, and
- has not yet had a human review and resolve the check (by selecting a Pass or Fail option) through its associated Picture Check dialog box.
After a test run, or any number of test runs, it is possible to have either local or repository results, containing unverified picture checks.
- It is highly recommended that you avoid adding local test results, which contain numerous unverified picture checks, to the repository (learn more), since this might increase your repository’s size dramatically.
- Note that, if you add test results to the repository by an automatic mean, all unverified picture checks will be discarded totally.
Of course, these can result when the test has been run in automated mode, given that Picture Check dialog boxes are suppressed from automatically popping up. But they can also result from tests run under semi-automated mode, given that the user can choose to defer making a Pass/Fail decision for each unverified picture check.
As long as a test module’s test result has unverified picture checks associated with it, it is still possible to resolve the outcome of each of those picture checks by invoking its Picture Check dialog box.
To resolve unverified picture checks, perform the following steps:
In the TestArchitect explorer tree, select either a local or a repository result node which contains unverified picture checks.
Invoke the Picture Check dialog box by doing one of the following:
- From the Tools menu, select Verify picture checks.
- Right-click the selection, and then select Verify Picture Checks.
- Double-click the selection, and then click the Verify picture checks
 button in the result panel.
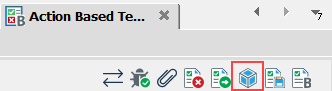
Tip:If there are unverified picture checks in your serial test results, you can quickly verify them by selecting the master result node in TestArchitect explorer tree, and then repeating one of the above options. For example: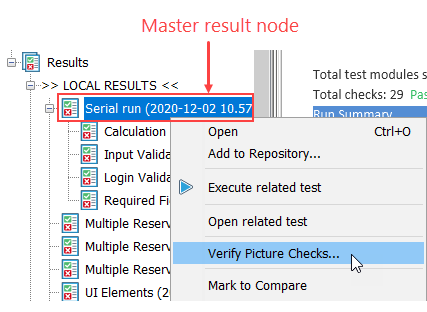
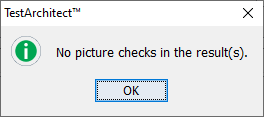
The Picture Check dialog box only appears if there are unverified picture checks for the corresponding test result. Otherwise, you receive a notification message:
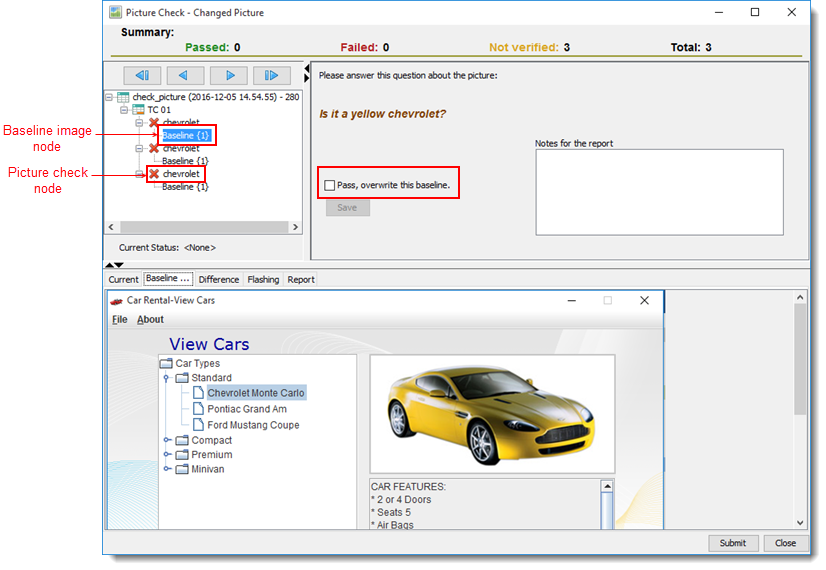
In the Picture Check dialog box, select a picture check node that you want to verify.
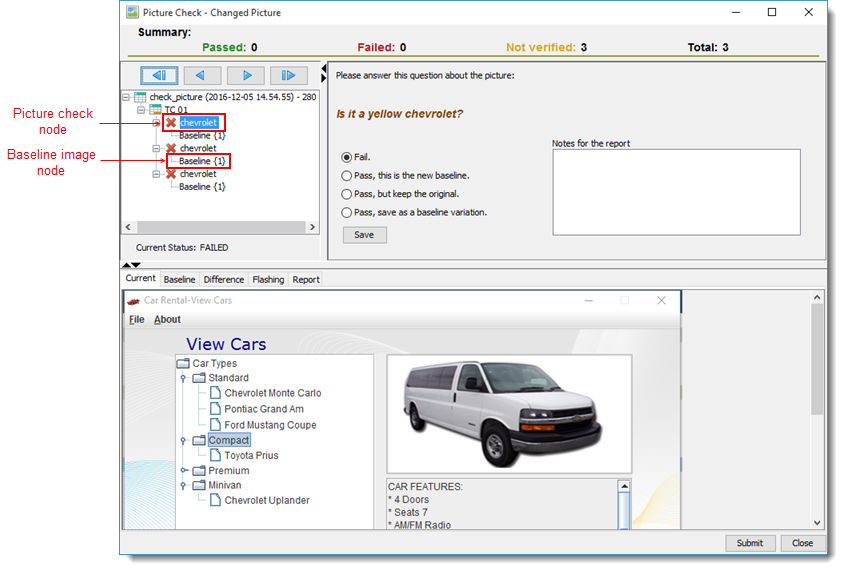
- The dialog box displays the newly-captured, unverified picture in the Current panel at bottom left.
- If multiple baselines exist for a picture check, selecting each one causes it to be displayed in the Baseline panel, allowing for comparisons to be made.
- Use the Differences panel to make differences between highly similar pictures more easy to discern.
On the right side of the dialog box, select one of the following verification options:
Fail: Report this check as having Failed. (That is, the image under test is not one that the AUT was expected to display, nor should have displayed, at the time of execution of this check picture action.)
Pass, this is the new baseline: Report this check as Passed, remove all existing baseline images, and save the test image as the baseline.
Pass, but keep the original: Report this check as Passed, but keep the original existing baselines. The test image is discarded.
Pass, save as a baseline variation: Report this check as Passed, and save the test image as an additional baseline.
If you select a baseline image node, the Pass, overwrite this baseline check box appears. Selecting this check box reports the check as Passed and replaces the selected baseline node with the current captured image.
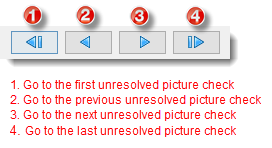
In the even that multiple unverified picture checks exist, use the following controls to navigate among them:
Click Save to save your decision.
Click Submit to close the dialog box.
Note:The Close button discards the changes (if any) and then closes the dialog box.
