
Non-contextual use of client-side point-to-identify
You can use client-side point-to-identify in a non-contextual mode, meaning that you use it without the benefit of an existing interface entity as a reference. Use non-contextual point-to-identify to investigate a window or control’s properties, or to generate a new interface element for a control.
On the TA toolbar, click the Identify
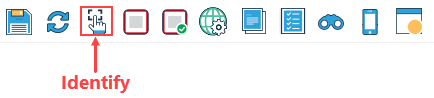 button
The point-to-identify mode is launched.
Navigate to the application window of your choice.
Click the control of interest.
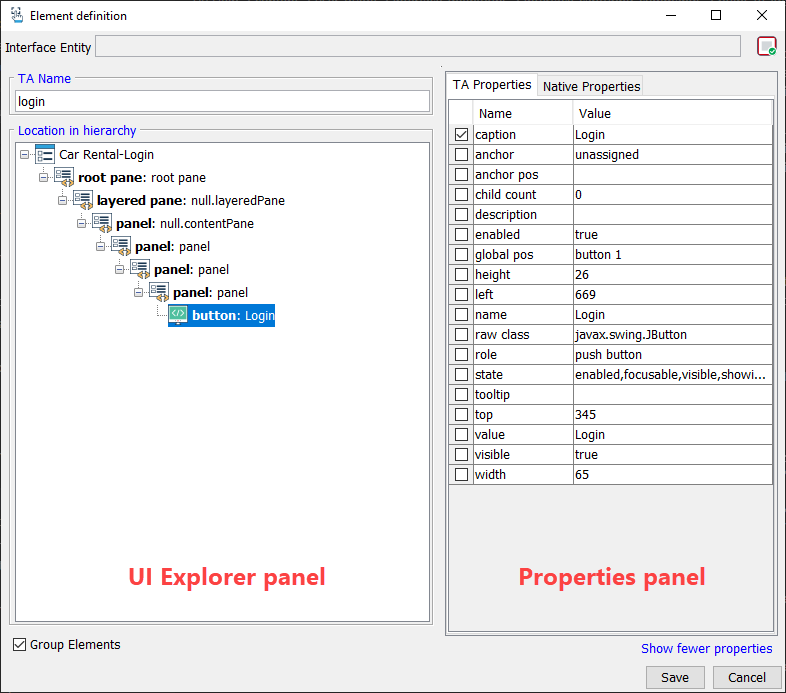
Tip:To capture UI child elements belonging to a container class, see Container Class.The Element definition dialog box appears, displaying the control, with its ancestor nodes, in the UI Explorer panel.
 Note:
Note:- As no reference interface entity has been supplied by you – that is, no context is given – none is displayed in the Interface Entity box. Consequently, all the nodes of the tree are shown as unmapped, as TestArchitect has not been informed as to where to find the mappings.
- The TA Name box offers a suggested name in the event that you wish to create a new interface element for this control (or overwrite an existing one), and allows you override it with your own choice of name. You also have the option of overriding TestArchitect’s suggested property identifier(s) and choosing your own.
- You have the option at this point of creating a mapping not for the control that you have identified, but for any one of its ancestor-containers in the tree. Simply click the given ancestor node, accept or override the suggested TA name, accept or override the suggested property identifier(s), and continue.
After making any chosen changes, click Save.
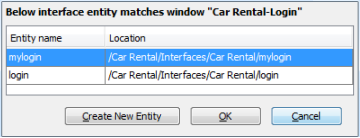
Tip:Click Cancel, if you are just viewing the control’s information.The Interface Entity Selection dialog box appears. This dialog box presents you with a list of interface entities in the current interface that match the parent window of the control just clicked, if any exist.
 Note:If you want to save your interface element to an existing interface entity, proceed to step 5, or proceed to step 8 to create a new interface entity to house this new element.
In order to save to an existing interface entity, select an interface entity from the list in the Interface Entity Selection dialog box.
Click OK.
If an interface element for the same control already exists in the designated interface entity, you are prompted to overwrite it.
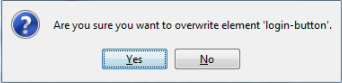
Click Yes.
Your interface entity has been updated.
In order to create a new interface entity, click the Create New Entity button in the Interface Entity Selection dialog box.
The New Interface Entity dialog box appears.
Enter detailed information for the interface entity. Additionally, you need to supply a location for this interface entity via the picker available on the Location box.
Click Create.
The new definition has been created, with your new interface element written to it.
