Example: Recording test with Web Recorder
This example will run you through all the steps for using Web Recorder. After following this example you will be able to easily incorporate Web Recorder into your work.
Prerequisites:
- Basic understanding of the TestArchitect Client user interface.
- Familiarity with the TestArchitect test editor.
- Essential understanding of TestArchitect repositories, projects and tests.
Now, let’s get started!
In TestArchitect, create a new test module or action definition, or open an existing one for editing. Check it out if needed.
Place the cell pointer on the line where the Web Recorder should insert the recorded action lines.
From the TestArchitect menu bar, select Tools > Web Recorder.
Fastpath: Alternatively, press CTRL+F6 on your keyboard, or click the Web Recorder
 button on the toolbar.
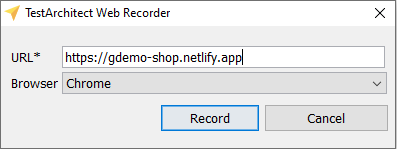
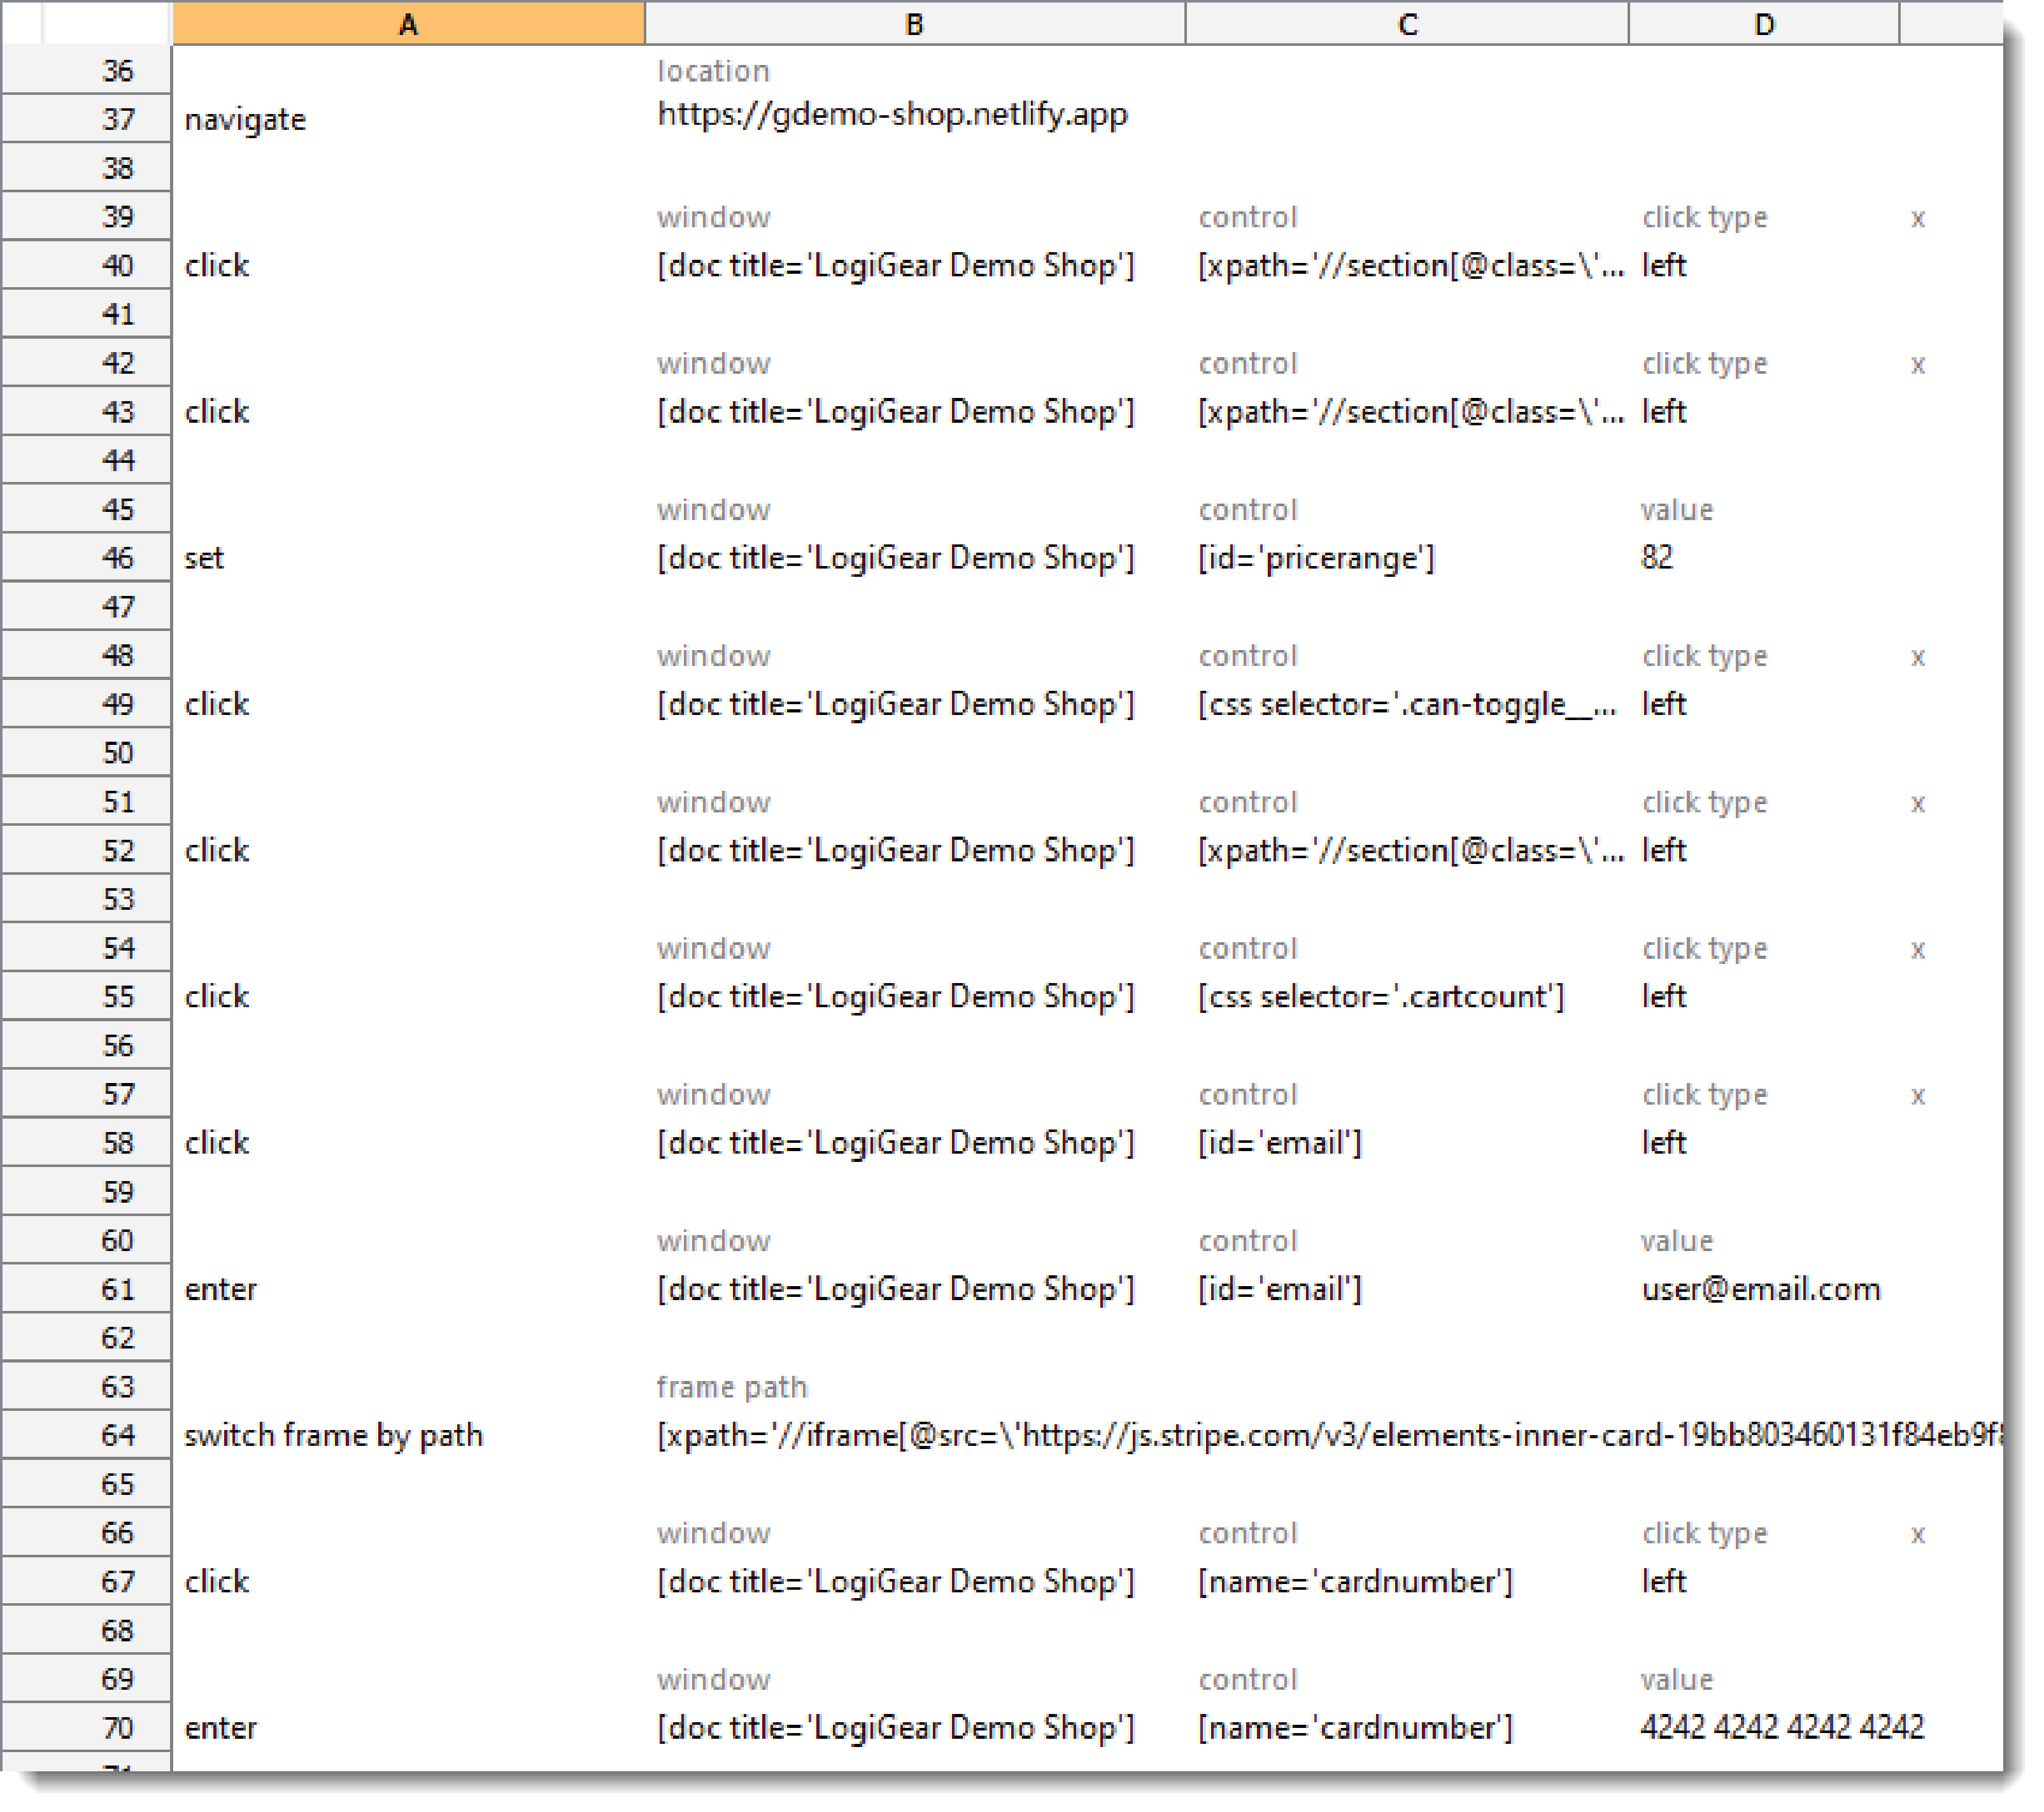
Input the URL https://demo.gondolatest.com to TestArchitect Web Recorder dialog then click Record button.
After the Web Recorder session has started, follow the steps below in the browser:
Click Add to Cart button of Khaki Suede Polish Work Boots product.
Click Add to Cart button of Camo Fang Backpack Jungle product.
Adjust the Highest Price slide bar between 50$ and 140$.
Click the Only Show Sale Items toggle button.
Click Add to Cart button of Cotton Black Cap product.
Click Shopping Cart
 icon in the top-right of the Web page.
Scroll down a little bit and input the Email: [email protected].
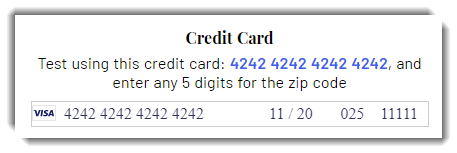
Then input the Credit card information. Please use the test information as below:
 Note:WebRecorder will automatically generate action lines and locators and send them directly to your test in real-time.
Now we try to insert a checkpoint into our test.
Click the Add new step
 button to activate insert checkpoint mode.
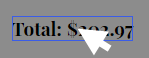
We are going to check the Total label by clicking on it.
In the Add new step dialog, select check control propertyin the Select an action combobox. Then type innerTextinto the Propertyfield. Review the Expected value and click Add button.
Next, click Stop recording and OK button in the confirmation dialog after.
Now all of your interactions from above already displayed in TestArchitect Editor.
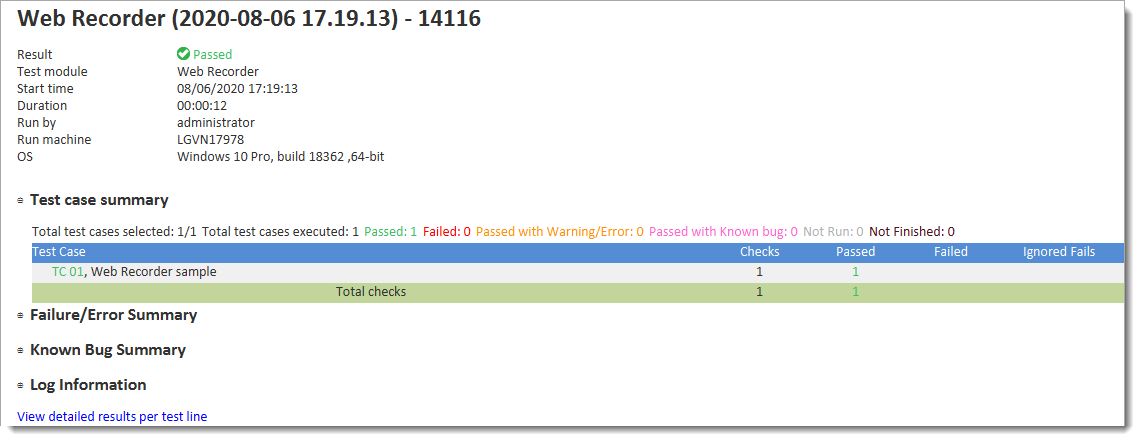
Run your test in TestArchitect Client to see the result.
The result should look like: