 Integration with third-party tools
HP Quality Center
Configuring integration with HP Quality Center
Setting up the connection with Quality Center
Integration with third-party tools
HP Quality Center
Configuring integration with HP Quality Center
Setting up the connection with Quality Center Installing the Quality Center add-in
Interoperability between a TestArchitect project and HP Quality Center requires that the TestArchitect repository server hosting the project have the HP ALM Connectivity Add-in installed.
Contact your systems administrator if you are not certain whether the machine hosting your TestArchitect repository already has the HP ALM Connectivity Add-in installed. If it does not, and you are authorized to install to that machine, or the repository resides on your local machine, carry out the instructions that follow.
In a browser supported by your version of Quality Center, navigate to the URL of the Quality Center server in your organization.
Note:The HP Quality Center server supports a limited number of browsers. Specifically, versions 11 and 12 of Quality Center support Internet Explorer versions 8 thru 10. To ensure that you have the most recent information on Quality Center support for browsers, operating systems, hardware, etc., please refer to HP’s system requirement guide. (Note that Quality Center limitations on browser clients have no bearing on which browsers may be used as target platforms for TestArchitect automated testing.)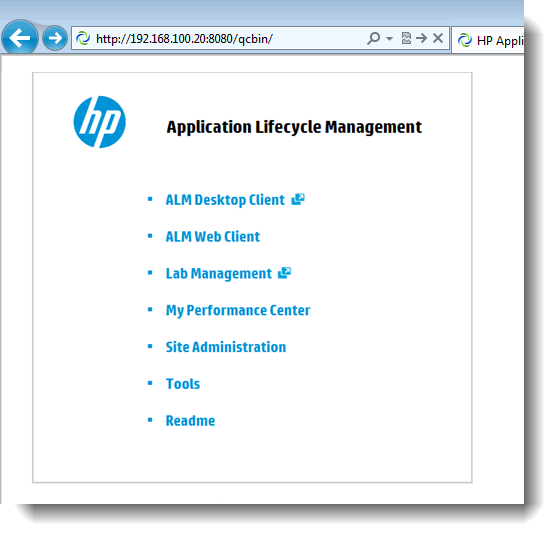
Click the Tools link.
In the Application Lifecycle Management - Tools window, click HP ALM Connectivity.
In the next window, click Download HP ALM Connectivity.
When offered the option to either run or save the file, choose Save or Save As, and save the file, TDConnect.exe, to a location of your choice.
Navigate to the directory containing the downloaded file TDConnect.exe.
- If your repository exists on your own computer, double click the file to run it.
- If the repository exists on another computer, transfer the file to it, and run it from that machine. After a few seconds, a confirmation should appear indicating that installation is complete.
