
Installing TestArchitect on macOS
How to install TestArchitect on a Macintosh system.
Contact LogiGear Sales to obtain the correct compressed TestArchitect installation file (.zip) for your system.
- If this is an upgrade, it is strongly recommended that you back up any existing repositories you may have prior to upgrading to this version of TestArchitect.
- It is recommended that you install TestArchitect from the administrator user access account.
Once you have the compressed file on your system, uncompress it to extract a .pkg file.
Double-click the .pkg file to begin the installation process.
TestArchitect Setup begins. The Introduction dialog box appears.
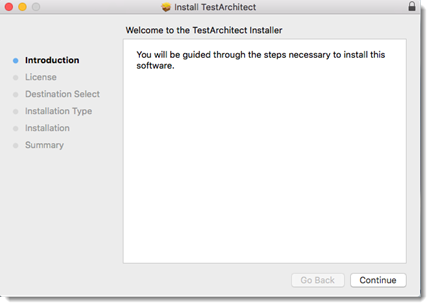
Click Continue to proceed.
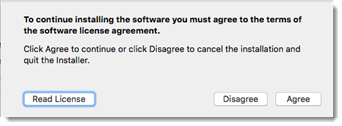
A dialog box displaying the TestArchitect software license agreement appears.

Please read through the license agreement and ensure that you understand the terms of TestArchitect usage, then click Continue.
Click Agree to accept terms of the software license agreement.
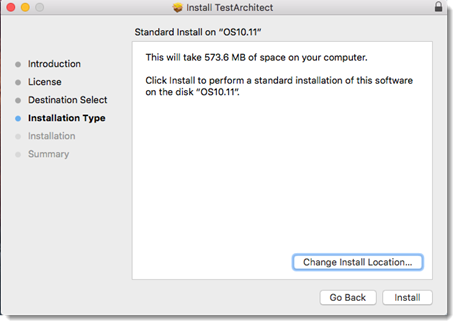
The Installation Type window indicates the drive upon which TestArchitect will be installed. You may choose another drive by clicking Change Install Location. Click Install to continue.
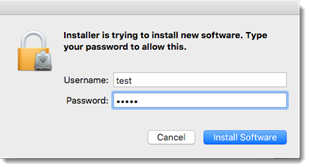
Enter your password to authorize the installation, and click the Install Software button.
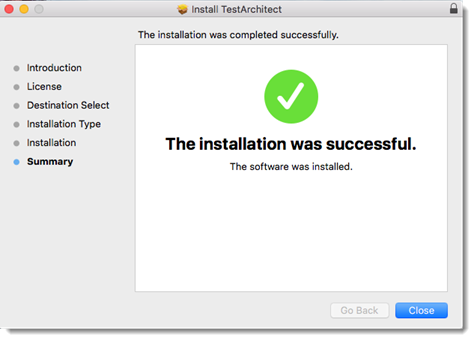
A message box appears to display the tasks being performed, along with a progress bar presenting the installation’s degree of completion. Upon completion, the Summary window appears.
Click Close to close the Install TestArchitect dialog box.
TestArchitect setup is complete.
