
The requested page is not available for selected version.
Adding new licenses
New license keys or credentias received from the LogiGear sales team may be added to your license server from the License Server Control Panel.
- Adding license with a license key:
On the license server machine, launch the License Server Control Panel:
- Windows platform: do one of the following:
- Double-click the TestArchitect - License Server
 icon in your Windows notification area.
 - Select Start Menu > All Programs > TestArchitect > License Server.
- Double-click the TestArchitect - License Server
- Linux platform: do one of the following:
- Double-click the TestArchitect - License Server icon in your notification area.
- From a terminal window, navigate to /usr/local/logigear/licenseserver/licenseserver and run the TestArchitect License Server executable.
- Double-click the TestArchitect - License Server
- macOS: Note that the TestArchitect License Server is not currently supported on macOS.
- Windows platform: do one of the following:
On the toolbar, click the Add License
 button.
From TestArchitect 9.0 onward, a LogiGear account is required for License Server. This account will be provided by LogiGear.
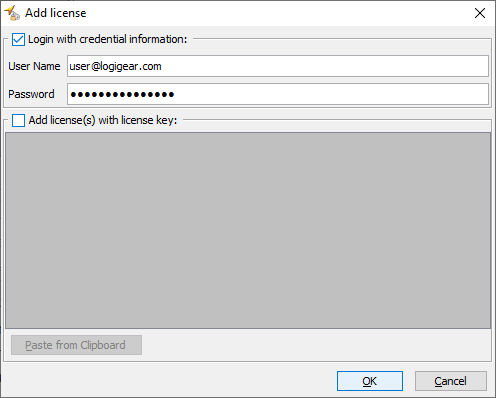
The License Key option is only available to for specific customers.Open the email containing the account you received from the LogiGear sales team. Input the account information into the username and password fields in the Add License dialog. Finally, click OK.

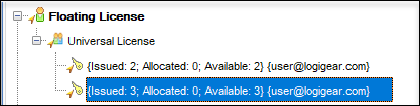
Adding license successfully will be displayed as below:
 Note:
Note:- If the license server is stopped, click Start
 on the toolbar to restart it.
 - Repeat the procedures above when you switch License Servers. Ensure that you already logged out by removing the license in the current License Server before setting up another machine.
- If the license server is stopped, click Start
