
License Server installation on Windows
How to install TestArchitect License Server on Windows.
Double-click the TestArchitectLicenseServer.exe installation file to begin the installation process.
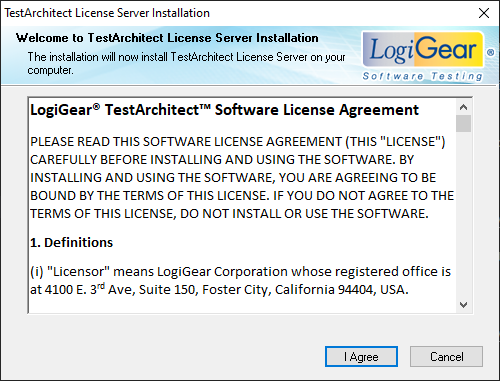
The Welcome dialog box appears. This contains the license agreement specifying the conditions of TestArchitect software usage.
Please read through the license agreement and then click I Agree to indicate your agreement with the license terms.
Optional: In the Configuration dialog box, use the Browse buttons to choose the program and data locations for the TestArchitect License Server or, alternatively, accept the default locations.
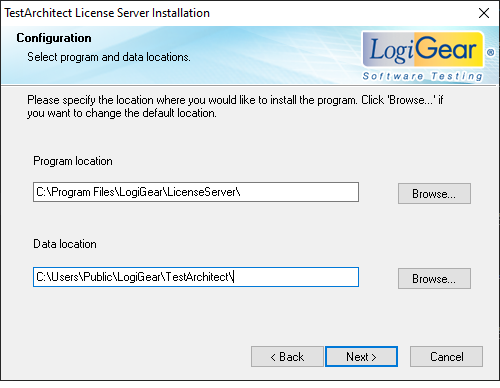
Click Next to continue.
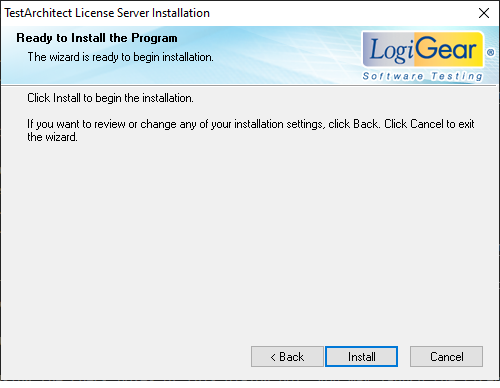
On the Ready to Install the Program dialog box, click Install to begin installing the License Server.
The Setup Status message box appears to indicate the progress of the installation and the tasks being performed.
Upon completion, the Installation Complete dialog box appears.
Using the check boxes of this dialog box, you may launch the License Server immediately and/or open the License Server Help.
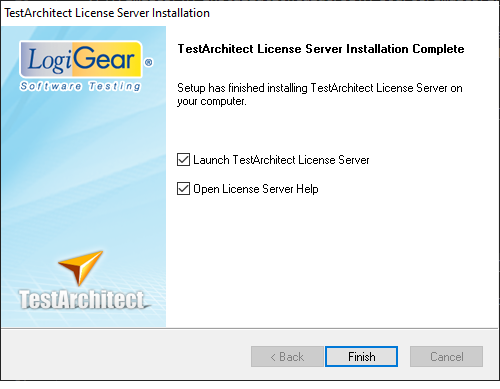
Click Finish.
License Server setup is complete.
