
Installing TestArchitect on Windows
How to install TestArchitect on a Windows system.
Contact LogiGear Sales to obtain the correct TestArchitect installation file for your system.
- If this is an upgrade, it is strongly recommended that you back up any existing repositories you may have prior to upgrading to this version of TestArchitect.
- It is recommended that you install TestArchitect from the administrator user access account.
Once you have the installation file on your system, double-click it to start the installation process.
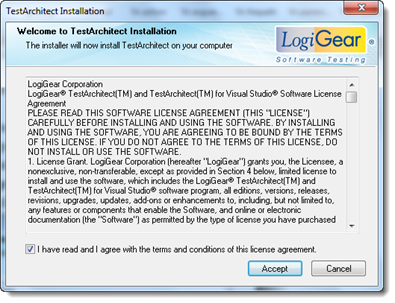
The Welcome dialog box appears, displaying the software license agreement specifying the terms of TestArchitect usage.
To proceed, please read through the license agreement and then select the check box labelled I have read and I agree with the terms and conditions of this license agreement, then click Accept.
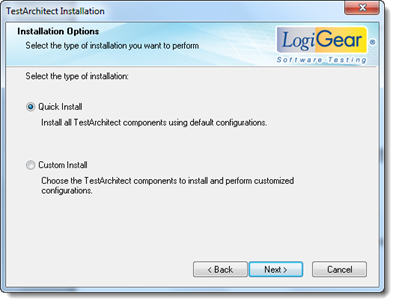
You can choose between two options for installing TestArchitect:
- Quick Install: Install TestArchitect with the default settings.
- Custom Install: View the modifiable installation settings and, if so desired, change them from their defaults.
TestArchitect Quick Install
The Quick Install option allows you to install TestArchitect and its components more quickly by bypassing the option to change the default installation settings.
TestArchitect Custom Install
The Custom Install option allows you to choose the components you wish to install, and select other options.
