
Launching Device Live Screen
Attach the mobile device to your host machine.
There are several ways to launch Device Live Screen:
- Method 1: In TestArchitect Client, from the Tools menu, click Device Live Screen.
- Method 2: From the Interface Viewer’s toolbar, click the Device mode
 button.
 - Method 3: From the Interface Viewer’s main menu, click View > Switch device.
Tip:In the specific case of web applications running in the Chrome browser on Android, it is possible to use TestArchitect point-to-identify with Device Live Screen to quickly capture controls and generate interface definitions. (See Identifying mobile UI controls for more on this topic.) When using Device Live Screen in this manner, it is recommended that you use either of # Methods 2 or 3 above to launch it.If Method 1 (above) is used to launch Device Live Screen, the Open device live screen dialog box appears and displays all connected mobile devices on your test machine.
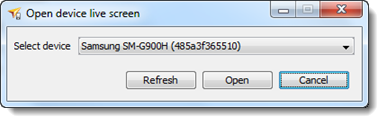
If either Method 2 or 3 is used, a different dialog box, Select Device, appears, but only if more than one device is detected. Select Device has the same functionality as the Open device live screen dialog box.
Select a connected device from the drop-down list.
Click Open.
The Device Live Screen window appears and displays the current screen of your selected device. As this is a “real time” mirror of your device, any changes that occur on the device’s screen are immediately reflected in the Device Live Screen window.
